Go Back   EcoModder Forum > EcoModding > Aerodynamics
Register Now
 Register Now
 

Reply  Post New Thread
 
Submit Tools LinkBack Thread Tools
Old 06-12-2011, 07:02 AM   #31 (permalink)
OCD Master EcoModder
 
brucepick's Avatar
 
Join Date: Dec 2007
Location: Eastern CT, USA
Posts: 1,933

Outasight - '00 Honda Insight
Team Honda
Gen-1 Insights
90 day: 54.18 mpg (US)
Thanks: 429
Thanked 391 Times in 261 Posts
Was asked here several times about improvement results from the belly pan. Not easy to do an A-B-A type test but you can read through my gas log which shows the improvement as it was being built.
Gas log for Lean Burn Civic

Note I had the head rebuilt just before starting the belly pan. First tank after the new head was March 2. So you can review the mpg from that point forward. First couple fills after the rebuild were about 43-46 mpg, then up to a peak of 51-52 mpg with 2 and then 3 sections of the pan installed.

I have to admit, the biggest improvement seems to have come from the front section. The rest of the pan has some odd areas due to the exhaust. I think you'll see that if you read through the gas log notes. I still think the rest of the pan is worth building though.

I removed the belly pan below the muffler somewhere between April 5-12 and haven't gotten around to putting it back in that area. I hope to restore some of the gains by doing that. Something seems to be going on with the engine, not running quite as smooth (I think) as immediatelyl after the head rebuild. I'm sure that's part of why mpg has dropped to about 46-48 lately. All fresh tuneup parts so I'm not sure what the deal is. Nearly 230k miles on this engine!

__________________
Coast long and prosper.
Driving '00 Honda Insight, acquired Feb 2016.


  Reply With Quote
Alt Today
Popular topics

Other popular topics in this forum...

   
Old 07-03-2011, 07:33 AM   #32 (permalink)
OCD Master EcoModder
 
brucepick's Avatar
 
Join Date: Dec 2007
Location: Eastern CT, USA
Posts: 1,933

Outasight - '00 Honda Insight
Team Honda
Gen-1 Insights
90 day: 54.18 mpg (US)
Thanks: 429
Thanked 391 Times in 261 Posts
Building Belly Pan Below Muffler

I originally had built the belly pan below the muffler using 24" wide aluminum flashing. But it was flopping around too much and I cut it away. Now it was time to restore that section, better than before.

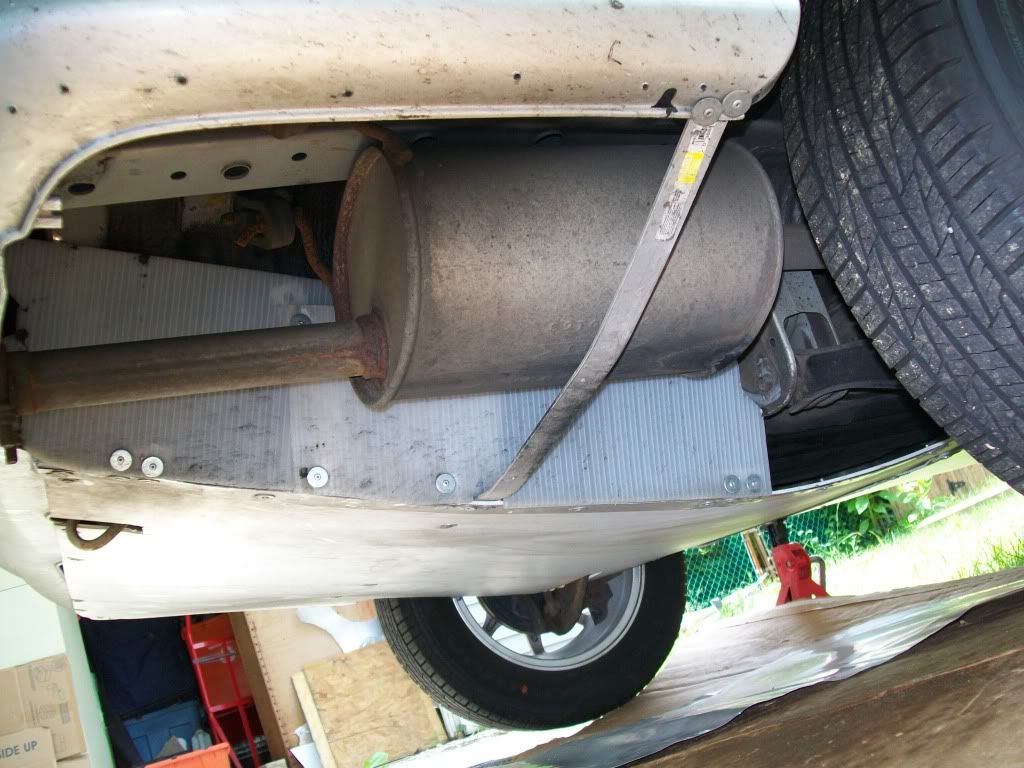
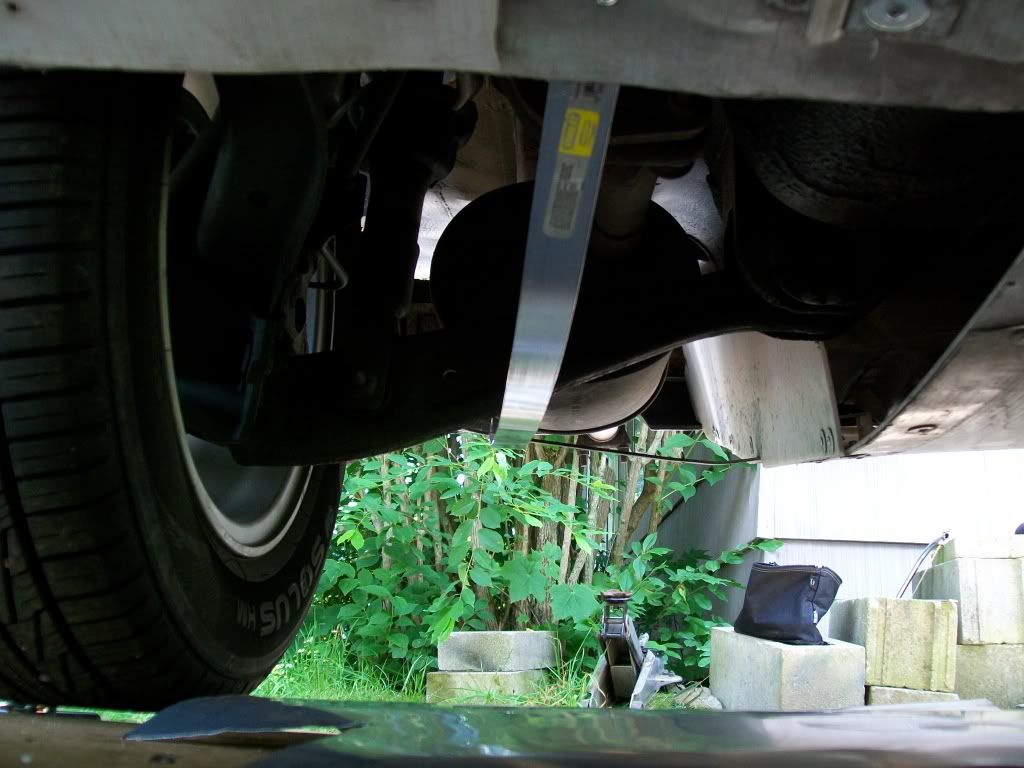
1st pic below shows open area below muffler and by right rear wheel. This shows the vertical panel that I added after removing the original belly pan material in that area. The 6 rivets you see with washers go into brackets on the back side, made from aluminum bar stock. The vertical panel is NOT attached to the car itself, just to the edge of the sheet of horizontal coroplast.


Above you can see the open area behind the wheel. The missing pan section goes to the front of the rear fender cutout. So the new pan section needed support there. This frame piece (pic below) was bent to span that area, curving below the suspension arm when at full drop, and below the muffler. Pay no attention to the straight stock in the background. The material is 1" by 1/8" aluminum. 6' was $10 at the hardware store.

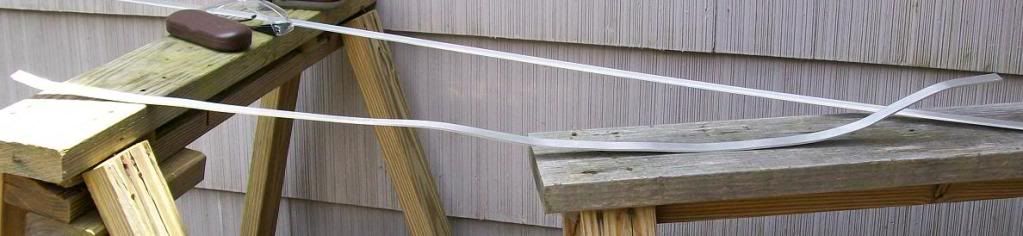
I had to rework the various bends quite a few times before I got them right, before drilling for rivets. I also needed to twist the bar in two places so it would land "flat" across the existing material it would be attached to. Fortunately I'd bought a vise for only $2, so vise plus Vise Grip pliers made the twist easy.

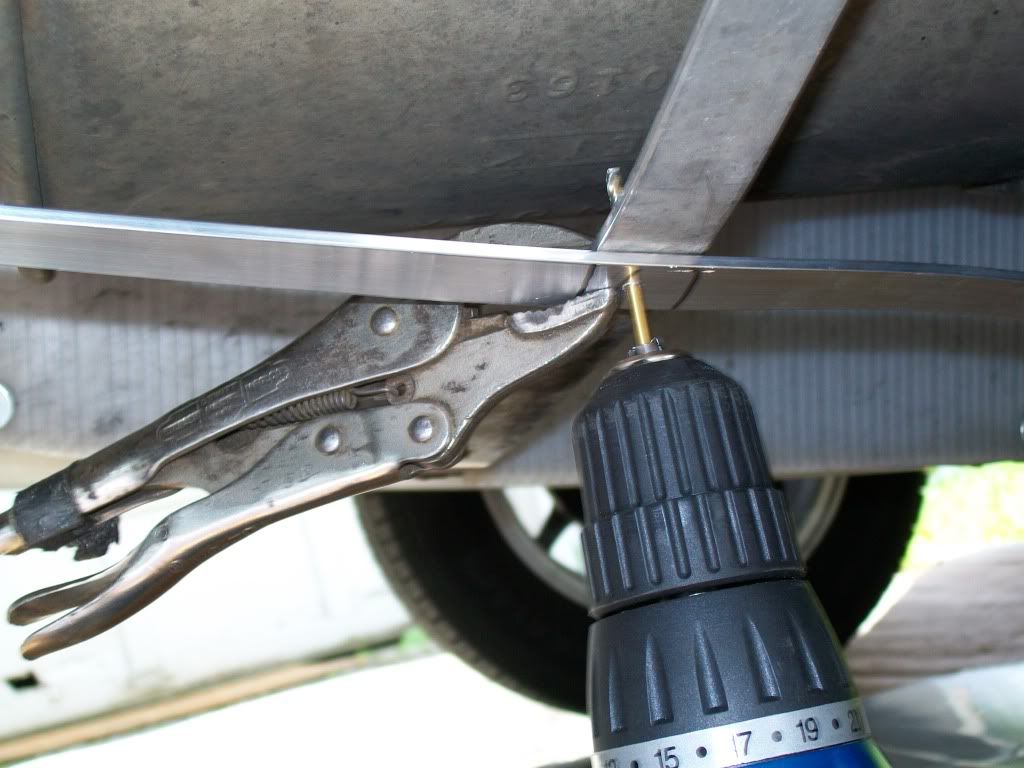
Drilling for a rivet. I also once used the method of pressing my left middle finger down on the top piece to hold it in place. The hole in my finger from where the drill bit went through isn't quite done healing yet. I'd say any other method is preferable to the finger press technique.


Here's the new frame piece in place. Like nearly all the attachments in this project, it's riveted to other belly pan components and sheet-metal-screwed to the car itself. So it potentially could be removed without destruction for maintenance, if/when needed.


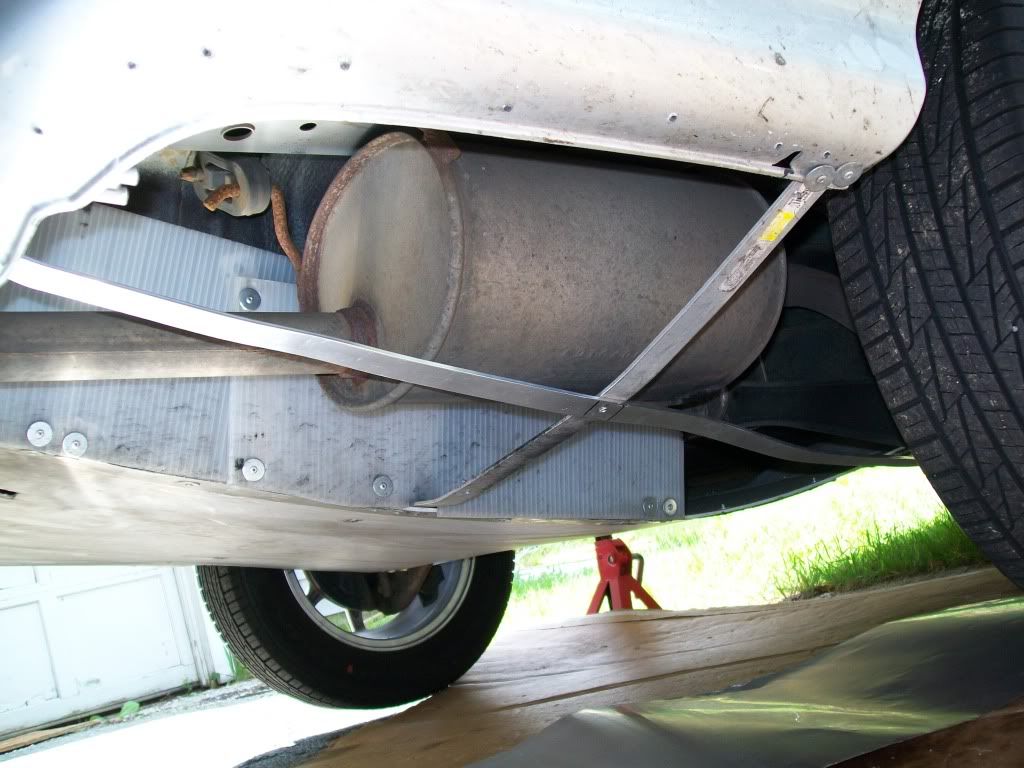
Here's a view showing the area, with the end of the belly pan's middle section visible at the top of the photo.


Sorry I don't have a pic showing the new material in place. But you should get the idea. I used aluminum flashing again this time, due to the heat of the exhaust. However coroplast might have been just fine. After an hour's drive on a hot day I put my hand on the flashing back there, it was just barely warm.

__________________
Coast long and prosper.
Driving '00 Honda Insight, acquired Feb 2016.


Last edited by brucepick; 07-04-2011 at 08:19 PM..
  Reply With Quote
The Following User Says Thank You to brucepick For This Useful Post:
Cd (07-03-2011)
Reply  Post New Thread


Thread Tools


Powered by vBulletin® Version 3.8.11
Copyright ©2000 - 2024, vBulletin Solutions Inc.
Search Engine Friendly URLs by vBSEO 3.5.2
All content copyright EcoModder.com